If you’re new to using a Google Nest, you might be wondering how to adjust Nest thermostat.
Luckily, it’s a simple process that can be done in a few easy steps.
Whether you want to set a schedule for your thermostat, turn it off when you’re away from home, or change the temperature to make your home more comfortable, you can do it all with your Nest thermostat.
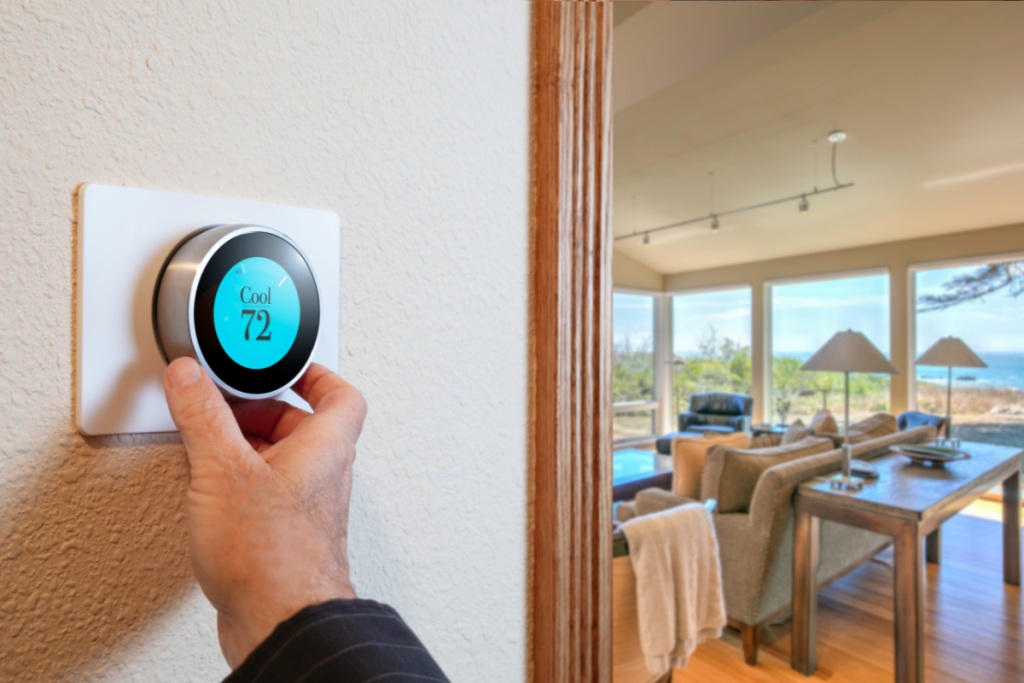
To adjust the temperature on your Nest thermostat, you can simply turn the ring on the device.
This will increase or decrease the temperature, depending on which way you turn the ring.
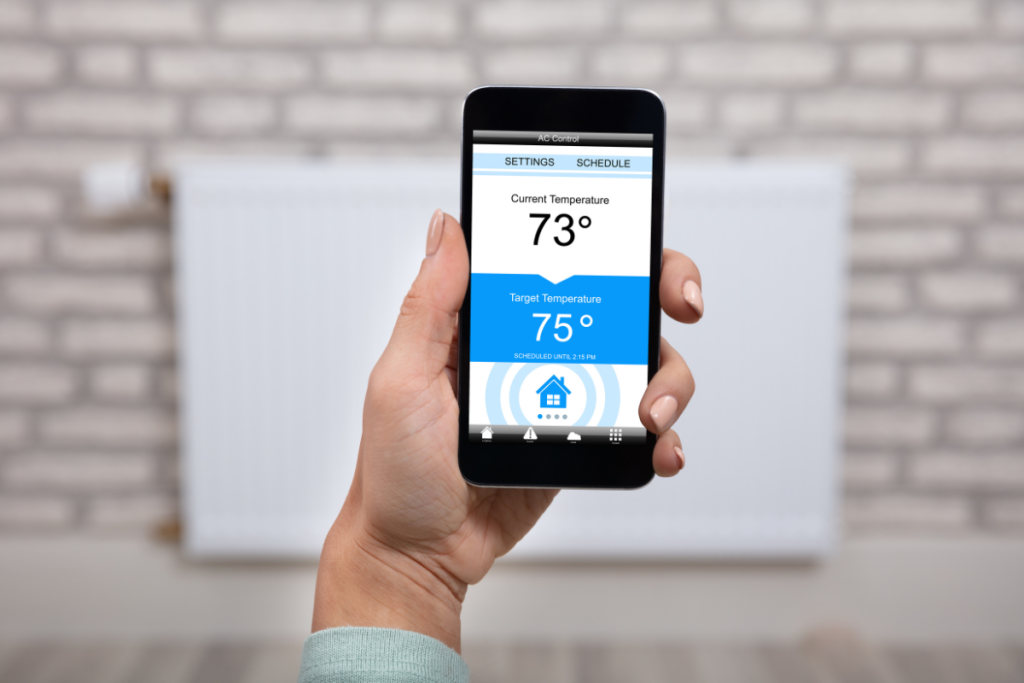
You can also adjust the temperature from the Nest app on your smartphone or tablet.
This is a convenient way to control your thermostat when you’re away from home or want to make quick adjustments without getting up from your seat.
If you want to change the mode on your Nest thermostat, such as switching from heating to cooling, you can do this through the Nest app or on the device itself.
Depending on your system type, your Nest thermostat may have up to five available modes: Heat, Cool, Heat•Cool, Off, and Eco.
Each mode has its own settings and can be customized to suit your preferences.
With these simple steps, you can easily adjust your Nest thermostat to keep your home comfortable and save energy.
How To Adjust Nest Thermostat
Adjusting your Nest thermostat is easy and can help you save energy and money.

Here are the steps to adjust your Nest thermostat:
- Open the Google Home app or Nest app on your phone.
- Tap on the thermostat icon to open the settings menu.
- Select “Temperature preferences” to adjust the temperature settings.
- Choose the “Temperature presets” option to set the temperature for different times of the day.
- You can set different temperatures for morning, afternoon, evening, and night.
- If you want to adjust the temperature manually, tap on the temperature display and drag the slider to the desired temperature.
- You can also change the mode of your thermostat by tapping on the mode icon.
- The available modes are Heat, Cool, Heat•Cool, Off, and Eco.
It’s important to note that the Nest thermostat learns your habits and adjusts the temperature automatically to save energy.
If you prefer to have more control over your thermostat, you can disable the learning feature and set the temperature manually.
Additionally, you can use the Nest app to control your thermostat remotely, so you can adjust the temperature even when you’re not at home.
This can be useful if you’re going to be away for an extended period and want to save energy by turning off your HVAC system.
Overall, adjusting your Nest thermostat is a simple process that can help you save energy and money.
By following these steps, you can customize your thermostat to fit your lifestyle and preferences.
Adjusting The Temperature
Adjusting the temperature on your Nest thermostat is a simple process.
You can either use the thermostat itself or the Nest app on your phone.
Here’s how to do it:
Using the Thermostat
- Press the thermostat’s display to wake it up.
- Turn the outer ring to adjust the temperature.
- Turning it to the right increases the temperature while turning it to the left decreases it.
- You can also press the outer ring to select it and then use the inner ring to adjust the temperature.
Using the Nest App
- Open the Nest app on your phone.
- Tap on your thermostat.
- Tap on the temperature setting.
- Use the plus and minus buttons to adjust the temperature.
- You can also use the slider to adjust the temperature more precisely.
- Once you’ve set the temperature, tap on “Done.”
Keep in mind that the Nest thermostat learns your preferences over time and adjusts the temperature accordingly.
If you find that the temperature is not to your liking, you can always adjust it manually as described above.
It’s important to note that changing the temperature too frequently can cause your HVAC system to work harder and use more energy.
To save energy and money, consider setting your thermostat to a comfortable temperature and leaving it there.
You can also use the Nest app to set a schedule for your thermostat, so it automatically adjusts the temperature based on your routine.

Setting Up Schedules
One of the best features of the Nest thermostat is its ability to learn your preferred temperature settings and create a schedule based on your routine.
However, you can also set up your schedules to fit your specific needs.
To set up a schedule, follow these simple steps:
- Open the Nest app and select your thermostat.
- Tap on the “Schedule” option.
- Choose the “Add” button to create a new schedule.
- Select the day of the week you want to set a schedule for.
- Tap on the time you want to set a temperature.
- Adjust the temperature to your desired setting.
- Repeat steps 4-6 for each time slot you want to set a temperature for.
- Save your schedule by selecting “Done.”
You can also edit an existing schedule by selecting the “Edit” button in the top right corner of the schedule screen.
From there, you can adjust the temperature settings for each time slot.
It’s important to note that the Nest thermostat also has an “Auto-Schedule” feature that learns your preferred temperature settings and creates a schedule for you.
If you prefer to use this feature, you can switch to it by selecting the “Auto-Schedule” option in the schedule screen.
By setting up your own schedules or using the Auto-Schedule feature, you can ensure that your Nest thermostat is always set to your preferred temperature, whether you’re at home or away.
Troubleshooting Common Issues
Even with the most advanced technology, sometimes things can go wrong.
Here are some common issues you may experience with your Nest thermostat and how to troubleshoot them.
Thermostat not responding
If your Nest thermostat is not responding, first check to make sure it is properly connected to your Wi-Fi network.
If it is, try resetting your thermostat by holding down the display for 10 seconds until it restarts.
If this doesn’t work, try resetting your router and then resetting your thermostat.
Battery issues
If you’re experiencing low battery issues with your Nest thermostat, check to see if your system has a C-wire.
If it doesn’t, you may need to charge your thermostat by connecting it to a common wire transformer or using the wall charger USB cable.
The battery level should be above 20 mA to prevent malfunctions.
Delayed mode
If your Nest thermostat is in delayed mode, it may be due to a power outage.
Check to make sure your system has power and that the Nest button is clicking.
If it’s not clicking, there may be an issue with the “Rh” wire.
Hot or cold air
If your vents are releasing hot air instead of cold air, first make sure your thermostat is set to “cool” mode.
If it is, check to see if your air filter needs to be changed. A dirty air filter can cause your system to blow hot air.
If your thermostat is releasing cold air when it should be releasing hot air, check to see if your system is in “heat” mode and that the temperature is set correctly.
Error codes
If your Nest thermostat shows an error code, check the Nest app for troubleshooting tips.
If the issue persists, try resetting your thermostat or contacting Nest customer support for further assistance.
By following these troubleshooting tips, you can help ensure your Nest thermostat is functioning properly and keeping your home at the perfect temperature.

Key Takeaways
Adjusting your Nest thermostat is a simple process that can help you save energy and money.
Here are some key takeaways to keep in mind:
- You can adjust the temperature on your Nest thermostat using the device itself, the Nest app, or the Google Home app.
- To change the temperature on your Nest thermostat using the device itself, simply turn the ring to the left or right to decrease or increase the temperature, respectively.
- You can also adjust the temperature using the Nest app or the Google Home app.
- Simply open the app, select your thermostat, and adjust the temperature using the on-screen controls.
- In addition to adjusting the temperature, you can also change the mode on your Nest thermostat.
- The available modes are Heat, Cool, Heat•Cool, Off, and Eco.
- To change the mode, simply select the mode you want using the device itself or the app.
- You can also customize the temperature schedule on your Nest thermostat to fit your needs.
- By default, your Nest thermostat has a schedule for your Comfort, Eco, and Sleep temperatures, but you can customize these schedules to better fit your lifestyle.
- Finally, don’t forget to take advantage of the energy-saving features on your Nest thermostat, such as Eco mode and Home/Away Assist.
- These features can help you save energy and money without sacrificing comfort.
With these key takeaways in mind, adjusting your Nest thermostat should be a breeze.
Whether you’re looking to save energy, increase comfort, or simply make your life a little easier, your Nest thermostat has you covered.

