Are you tired of having a header in your document that takes up too much space and you want to know how to get rid of header in Google Docs?
Removing a header in Google Docs is a quick and easy process that can be done in just a few simple steps.
Whether you’re using the web app or mobile app, we’ve got you covered with clear instructions on how to get rid of that pesky header.
In this article, we’ll walk you through the steps to remove a header in Google Docs.
We’ll cover both the web app and mobile app, as well as provide tips on how to add and edit headers if you ever need to.
By the end of this article, you’ll be able to confidently remove headers from your Google Docs documents, making them easier to read and more professional-looking. So let’s get started!
How To Get Rid Of Header In Google Docs
Headers can be useful, but they can also be distracting or unnecessary.

If you want to remove a header from your Google Docs document, there are two methods to choose from.
Method 1: Direct Deletion
The first method is to delete the header directly. Here’s how to do it:
- Open your Google Docs document.
- Click on the header area at the top of the page.
- Press the Delete or Backspace key on your keyboard to remove the header.
That’s it! The header should now be gone from your document.
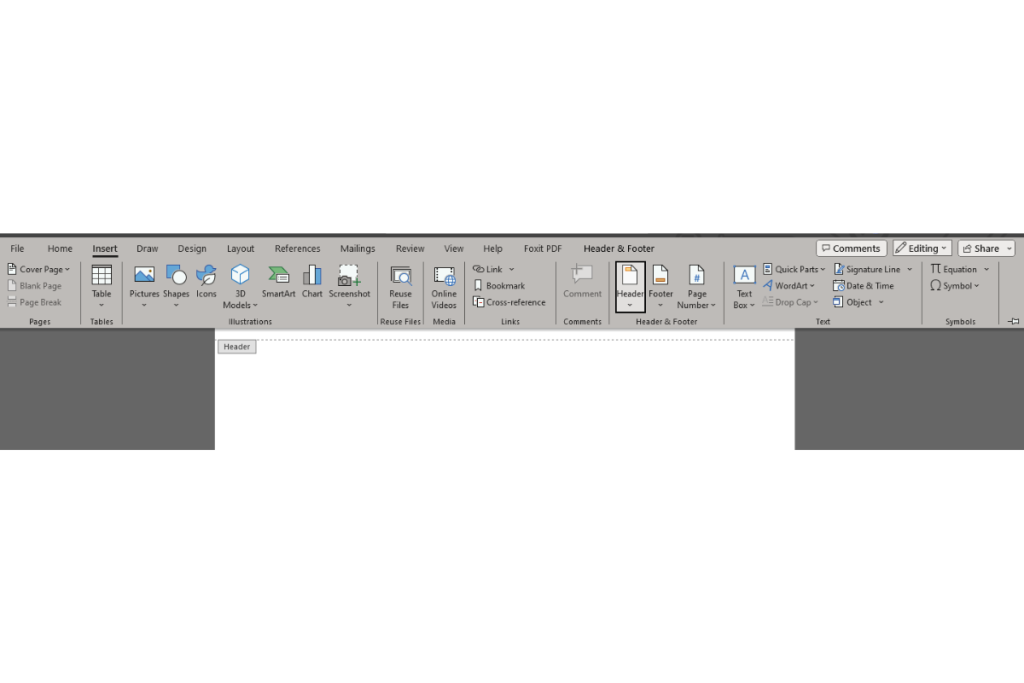
If you want to add a new header later, you can do so by going to the Insert tab and selecting Header.
Method 2: Format Settings
The second method involves using the Format settings to remove the header.
Here’s how to do it:
- Open your Google Docs document.
- Click on the Format menu at the top of the page.
- Select Headers & Footers.
- Click on the option that says “Remove Header” or “Remove All Headers.”
This method removes all headers from your document.
If you want to add a new header later, you can do so by going to the Insert tab and selecting Header.
In conclusion, removing a header in Google Docs is a simple process that can be done in just a few clicks.
Whether you choose to delete the header directly or use the Format settings, you can easily get rid of any unwanted headers in your document.

Possible Issues And Solutions
When working on a document in Google Docs, you may encounter issues with headers, such as not being able to remove them or seeing unexpected changes.
Here are some common issues and solutions to help you troubleshoot:
Issue: Unable To Remove Header
If you are having trouble removing a header from your document, it may be because the header is linked to the previous section.
To fix this, you can unlink the header from the previous section by following these steps:
- Click on the header section of your document.
- Click on the “Link to Previous” button in the toolbar to turn off the link.
- Delete the header section.
Issue: Header Text Is Missing Or Changed
If you notice that your header text is missing or has changed unexpectedly, it may be because you accidentally edited the header for a specific section instead of the entire document.
To fix this, you can check the header settings for each section by following these steps:
- Click on the header section of your document.
- Check the “Different first page” or “Different odd and even pages” option in the toolbar to see if the header is set up differently for that section.
- If the option is selected, you can edit the header for that section or turn off the option to make the header consistent throughout the document.
Issue: Header Is Not Aligned Or Formatted Correctly
If your header is not aligned or formatted correctly, it may be because you have not set up the header settings properly.
To fix this, you can adjust the header settings by following these steps:
- Click on the “Insert” menu and select “Header” or “Edit header” to open the header editing panel.
- Use the formatting options in the toolbar to adjust the alignment, font, size, and other settings for the header.
- To close the header editing panel, click anywhere on the document.
By following these solutions, you should be able to troubleshoot common issues with headers in Google Docs and get back to working on your document without any problems.

Tips For Managing Headers
Headers can be a useful tool when creating a professional-looking document.
However, there may be times when you need to remove or edit headers in Google Docs.
Here are some tips for managing headers in your Google Docs:
1. Use A Consistent Header Style
When working on a document, it’s important to use a consistent header style throughout.
This can help make your document look more professional and polished.
Consider using the same font, size, and color for your headers. You can also use bold or italic text to make your headers stand out.
2. Remove Unnecessary Headers
If you have multiple headers in your document, it can be overwhelming for the reader.
Consider removing any unnecessary headers to make your document more streamlined.
You can do this by going to the “Format” menu and selecting “Headers & Footers” and then “Remove Header.”
3. Customize Your Headers
If you want to add a personal touch to your headers, consider customizing them.
You can add an image or logo to your header, change the font or color, or add a background color.
This can help make your document more visually appealing and engaging.
4. Check Your Header Placement
Make sure your header is in the correct placement. For example, if you want your header to appear on the first page only, you can select “Different first page” under “Headers & Footers.”
This can help make your document more organized and easy to read.
5. Use Headers For Navigation
Headers can also be used as a navigation tool for your document.
Consider adding a table of contents with links to each header.
This can help the reader quickly find the information they need and improve the overall user experience.
By following these tips, you can effectively manage your headers in Google Docs and create a professional-looking document.

Key Takeaways
Removing a header in Google Docs is a simple process that can be done in a few easy steps.
Whether you want to remove a header entirely or just modify it, there are several ways to do so.
Here are the key takeaways to keep in mind:
- To remove a header in Google Docs, simply click on the header section and press the delete key on your keyboard.
- Alternatively, you can use the “Backspace” key to remove the header.
- If you want to modify the header, click on the header section and make the necessary changes.
- You can add text, change fonts, and even add images to the header.
- Another way to remove a header is to go to the “Insert” menu and select “Header.”
- From there, you can choose “Remove Header” to delete the header entirely.
- If you want to remove the header from only one page, you can use the “Different first page” option.
- This will allow you to have a header on the first page and no header on the subsequent pages.
- Finally, if you want to remove the header from a specific section of your document, you can use the “Section break” option.
- This will allow you to have different headers on different sections of your document.
- By following these simple steps, you can easily remove or modify the header in your Google Docs document.
Whether you want to make your document look more professional or simply remove unnecessary information, removing the header is a quick and easy process.

